Pendant lights are a popular lighting solution that adds character, style, and practical illumination to any room. Whether you’re refreshing your interior decor or simply replacing an old fixture, installing a pendant light can be a rewarding DIY task. However, in the UK, certain rules and safety precautions must be followed, especially when dealing with electrical systems.
In this guide, we’ll walk you through the essential steps to install a pendant light in a typical UK home, from preparation and safety to wiring and final testing.
Safety First: UK Electrical Standards
Before you begin, it’s essential to follow UK safety regulations:
- Isolate the power supply – Turn off the circuit at the consumer unit (fuse box) and use a voltage tester to confirm there’s no live electricity
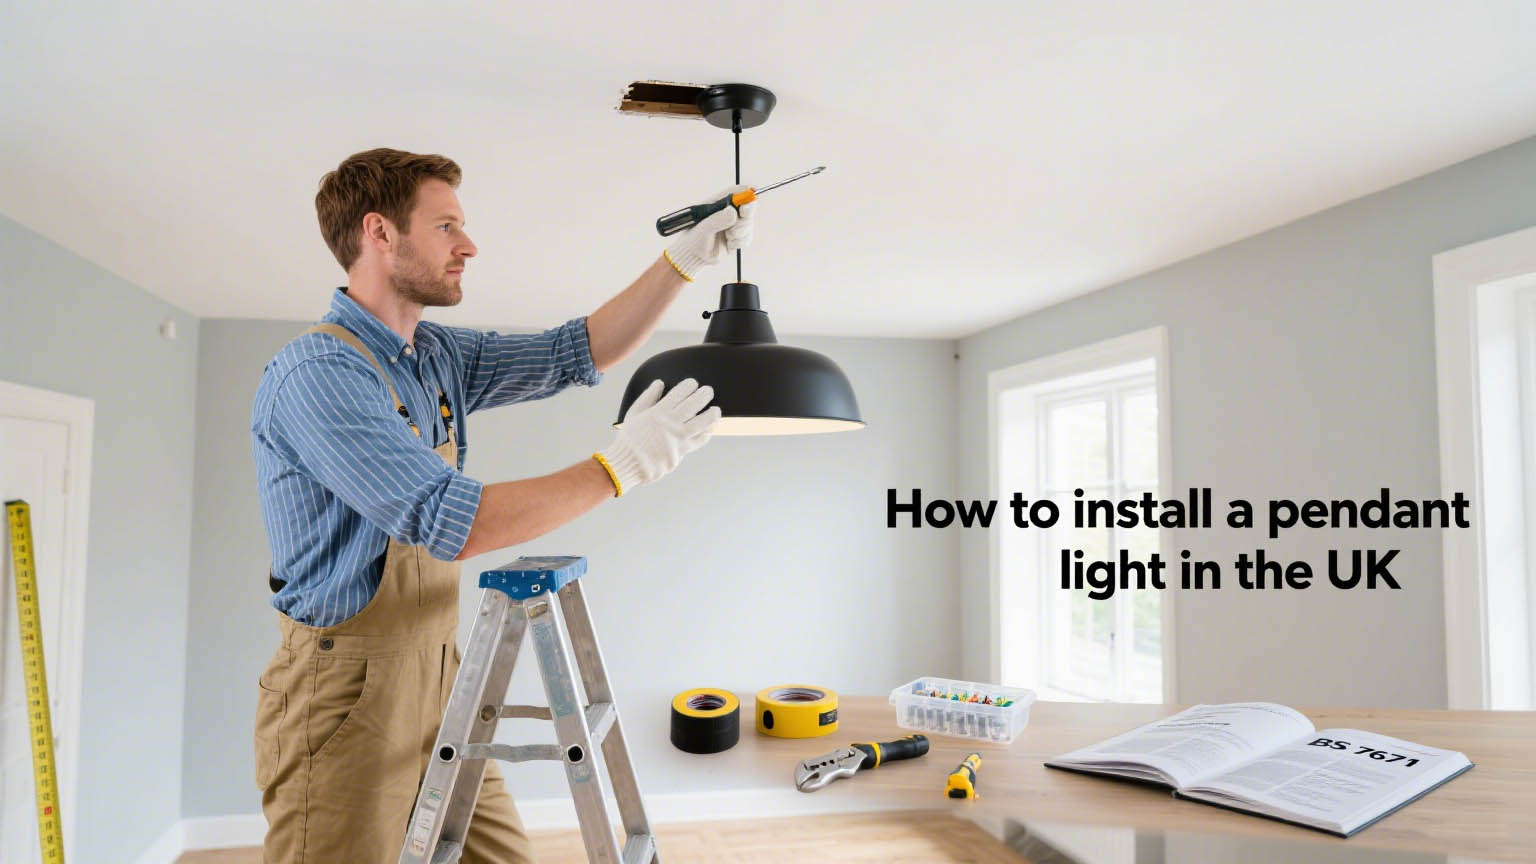
- Comply with BS 7671 wiring regs – All fittings must meet UK electrical standards, including earthing when required
- Ensure structural support – Pendant lights over 2 kg must be supported by a ceiling joist or chain, not the cable alone
- Earth connection is mandatory – Unless it’s a double-insulated (Class II) fixture, make sure there’s an earth wire
- Know your wiring system – Determine whether your ceiling uses a loop-in or junction-box setup for proper connections
Tools & Materials You’ll Need
- Voltage tester
- Screwdrivers (flat & PH2)
- Wire stripper/cutters
- Drill with relevant bits
- Helmet plugs and screws
- Mounting bracket or ceiling hook
- Appropriate connector blocks
- Optional: pendant chain or rod for heavy fixtures
Step-by-Step Installation Guide
Step 1. Prepare Your Workspace
- Isolate power and test with a voltage tester
- Lay out all parts and tools.
- If you’re replacing a light, remove the old fitting carefully.
Step 2. Install Structural Support
- Locate a ceiling joist or use a ceiling hook rated for at least 5 kg if the pendant is heavy
- For metal fittings over 2 kg, use a chain or support rod instead of relying on the flex
Step 3. Secure the Bracket or Hook
- Mark drill points around the ceiling rose hole
- Drill and fit wall plugs for a strong mount.
- Screw the bracket or hook securely to handle the fixture’s weight.
Step 4. Adjust Pendulum Height
- Lower and adjust the cable, chain, or rod to your desired length before wiring
- Leave extra cable in the ceiling rose for easy connections.
Step 5. Connect the Wiring
- Inside the ceiling rose or connector block:
- Live (brown) to live
- Neutral (blue) to neutral
- Earth (green/yellow) to earth terminal (unless Class II)
- Ensure connectors are fully tightened and cables well insulated
Step 6. Fix the Canopy/Ceiling Rose
- Slide the canopy up and secure it with screws onto the bracket.
- For glass shades, tighten thumbscrews evenly
- Keep wiring neat for a clean look.
Step 7. Install the Bulb and Shade
- Fit a suitable bulb—ideally a warm-white LED (2700–3000 K).
- Ensure bulb wattage doesn’t exceed the fixture’s maximum rating.
Step 8. Restore Power and Test
- Turn the circuit back on.
- Use a voltage tester and switch on the light to check functionality.
- Observe the pendant is secure and the light glows evenly.
💡 Key Tips for a Safe, Stylish Finish
- Use supports for weight – don’t let pendant flex bear the load
- Cable tidy is vital – group spare cables inside the rose with cable ties
- Match wiring colours – brown (live), blue (neutral), green/yellow (earth)
- Avoid overloading – ensure your circuit’s total wattage is within safe limits
- Use an RCD breaker – UK regulations recommend residual-current protection for lighting circuits
When to Call a Professional
Even with great instructions, it’s safer to consult a qualified electrician (Part P registered) if:
- You’re unsure about wiring types
- Your ceiling wiring is outdated or non-standard
- Regulations mandate professional installation
- You’re installing in bathroom or outdoor zones
Conclusion
Installing a pendant light in the UK is an achievable DIY task, provided you follow safety guidelines and wiring standards. By isolating the circuit, securing proper support, matching wires correctly, and testing thoroughly—any homeowner can elevate their space with stylish lighting.
Leave a Reply